Tote Bag to Messenger Bag
In retrospect, this is not a tutorial at all. I'm pretty terrible at instruction. I like to just do. I forget to show how I got from point A to point Q. So enjoy my process pictures, and maybe you can figure out how to do the same thing with one of your tote bags.

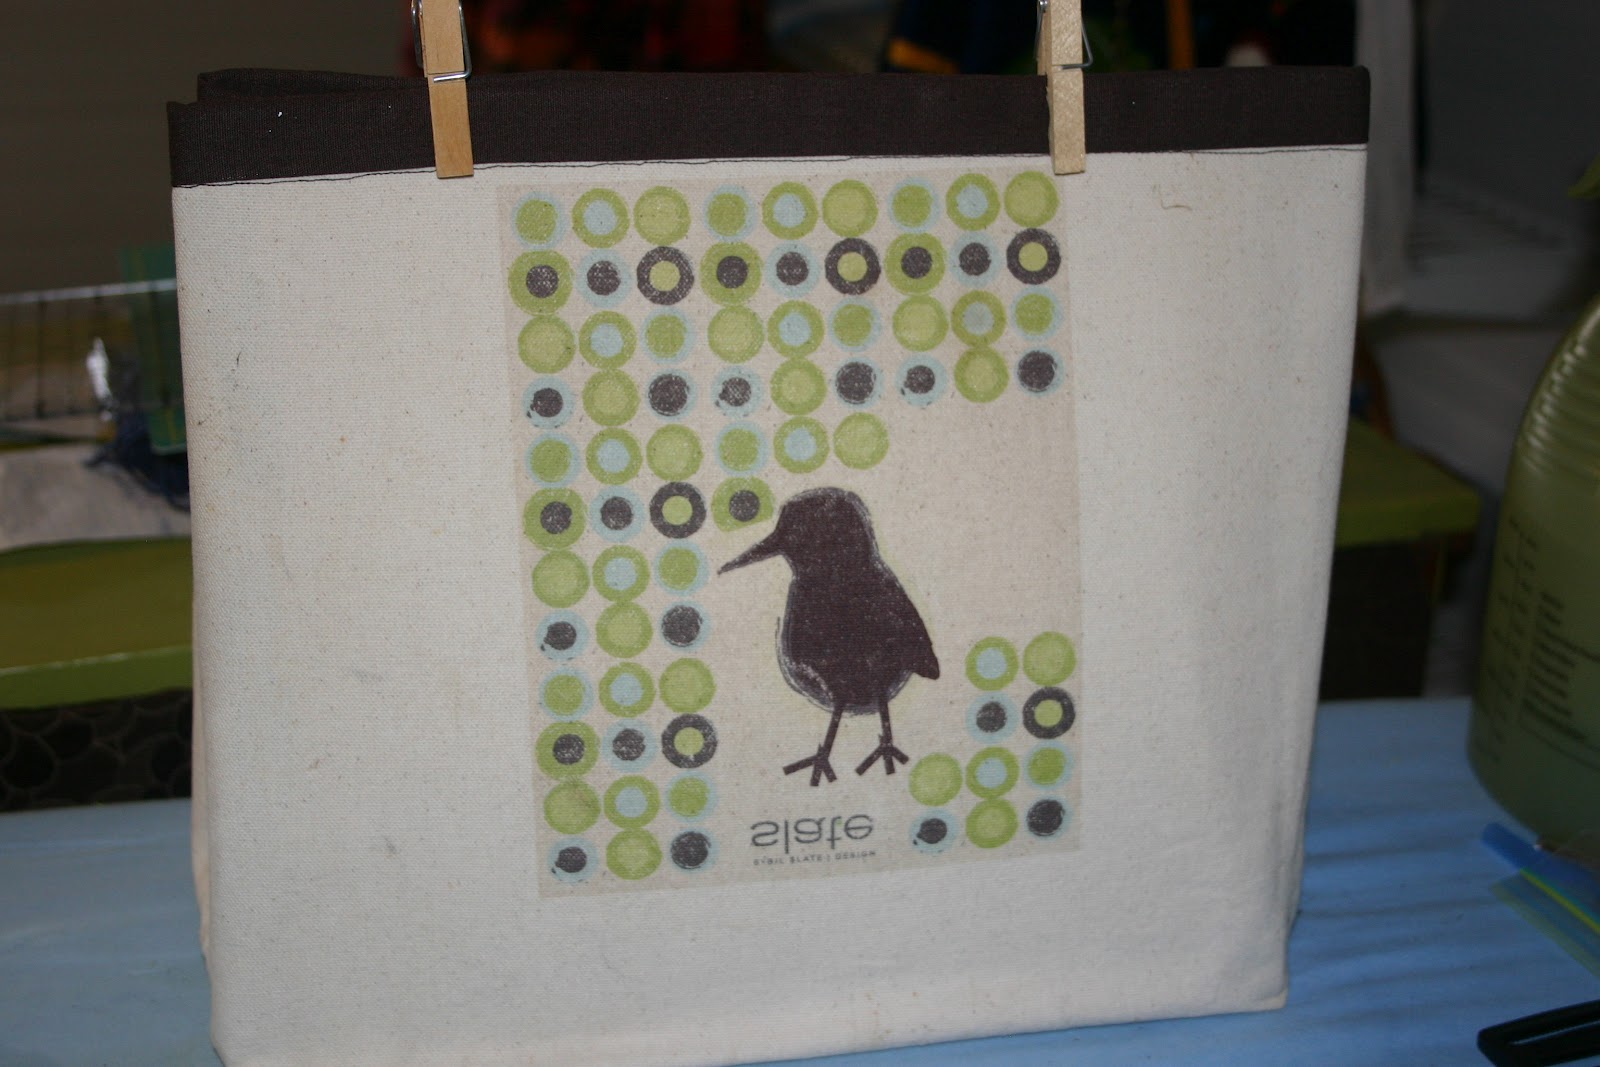
Here's what I started with. Not sure if she is still selling these, but the print was designed by a woman I went to high school with. I have several, and I love them all.
My goals: a bag I can wear with Eamon in a back carry, provide more structure to bag, closure flap, better shape for messenger style bag, add PUL lined pocket for wet dipes

Step 1: Whack off straps and top of bag for better shape. Actually, the true step 1 is to press press press and make sure this bag is going to stay square. There's nothing I hate more than a DIY that looks DIY. Cut an inch from top of design - save straps (I didn't use them, but I might use them for another project).

Step 2: Assess scrap fabric situation. I know I have leftover brown twill from my mei tai that I can use. I also have this adorable fabric that matches perfectly. There's so much of it that I'll probably use it for a lining. Decided I don't need a PUL lined pocket. I have a wet bag for a reason.

3. Apply lining and firmest interfacing you can find. I used super extra concrete firm on the "U" shaped part, and sort of floppy-firm on the sides. Now it is a better shape for my use, and it has more structure.
4. Iron the hell out of the interfacing. They make this stuff so hard to get melted down.

5. Envision something great, try to put into reality. Realize how much of a pain it is, seam rip it out. (I just want everyone to realize that even experienced sewers often spend a lot of time with a seam ripper.) What happened here? I envisioned great little piped edges. In reality, that concrete interfacing makes this a beast to put through the sewing machine, so it slipped on me. RIPRIPRIP.
6. Changed my vision yet again. I was having a lot of trouble figuring out how to make this messenger bag style without covering up the print. So I suddenly realized it could be sort of open topped, with cute straps.


7. Realized I don't actually need an adjustable strap. Ordered strap adjusters for no reason. Oh well, they are there when I need them. And someday I'll need them. Thankfully, I pinned the strap before I sewed it, so I didn't have to do any ripping there. And it was very convenient that my little barnacle was up when I needed him to be.

8. Take a lovely modeling shot when bag is all done. Note to self: clean that mirror. Gross.


Super cute!! And, impressive you accomplished this during nap time!
ReplyDelete